A successful exhibition is about good artworks, but it is also about being professional. We’ve prepared a checklist to make the admin easy, so you can enjoy the making.
So, your proposal was successful and your dates are locked in for a solo exhibition.
Now you have the daunting task of working back from the installation date to today, and to plan out how you will journey through that shopping list of things to do.
You have to remember that this is a professional career opportunity – but also a business opportunity. It is about money – what you spend, and potentially what you can make. So, you have to take your “artist head” off for a moment and slip into your power suit. You need to understand your costs, your personal value and your artist price.
You also need to know that you will run out of time. No matter how well you have prepared, you will feel like you are up against the wall those last few weeks. We want to make that easier for you. Not all artists are great at admin – so we are arming you with an easy-cheats checklist to get all your ducks in a row.
And, best advice? Plan, plan, plan. Put aside one half-day a week to deal with some of these things, and then they won’t be bringing that pressure into the studio.
Jump to
More than six months lead time

- Think of a working title for the exhibition. Stick it up on the studio wall, and think about it as the right fit while you develop the body of work.
- Decided if your exhibition is going to be themed or not. You may already have this locked down if you had to submit a proposal. Either way, you need to have your head around that concept to ensure you create a cohesive exhibition.
- Get your paperwork in order with the gallery – have a contract in place, and understand where responsibilities lie and what commissions the gallery gets. Also, understand what costs you are up for with marketing and the opening. You need to also know if you are expected to do extra collector events or talks.
- Update your CV. You do not want to be doing this in the last month when the pressure is on.
- Get a good bio photograph taken in both landscape and portrait format. Take it now while you are relaxed and the studio is not in chaos.
- Update your website. (Shall we just write “groan” here?) Keep it simple, but current.
- While you are on admin tasks, this is also a good time to update your mailing list and add all those Post It notes and business cards floating about in the bottom of your bag.
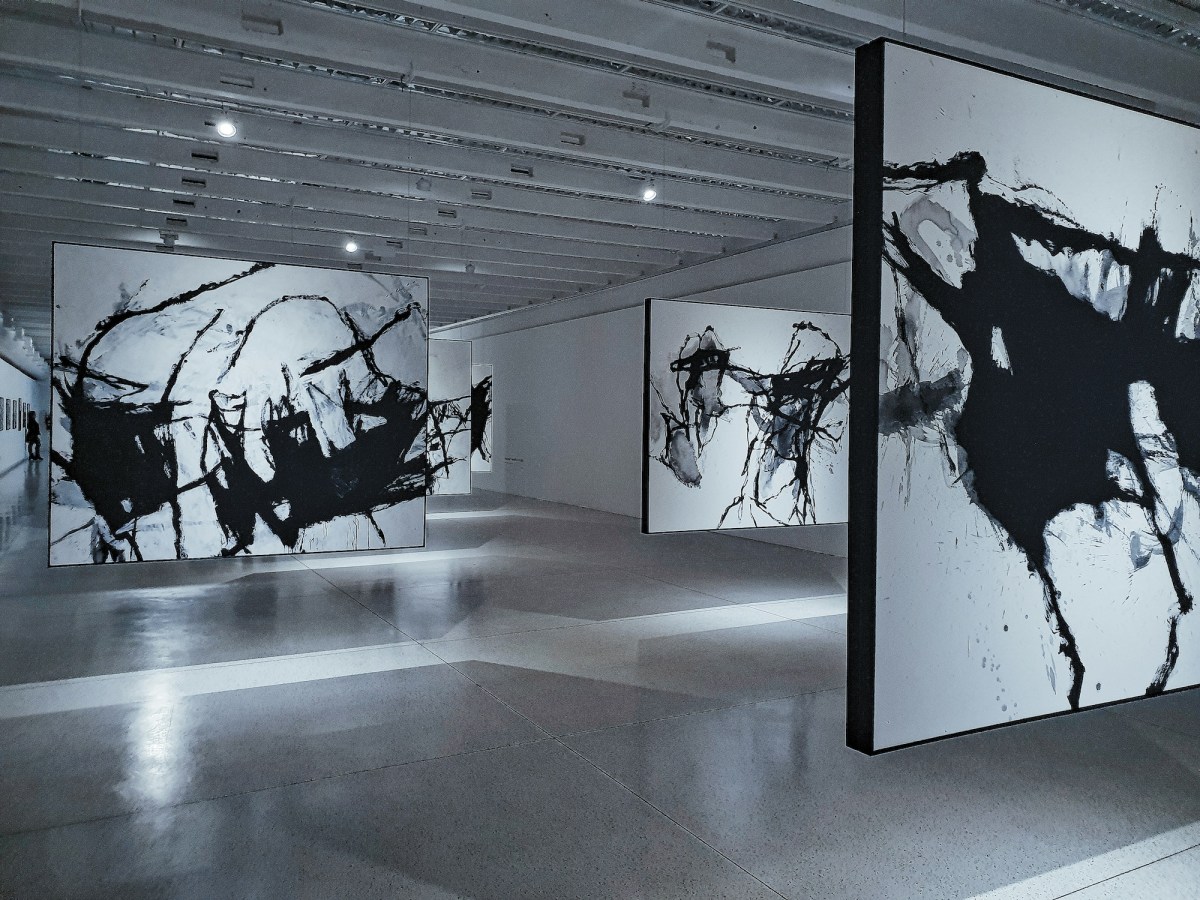
- Get a floorplan of the exhibition space, and get your head around the volume of work you need to make, and potential varying scales. Draft up a list of what you may need, aka six large paintings, five small ones and a plinth-based work. It can change, but this is a really helpful guide to get you into the headspace of making.
- Ascertain any restrictions for hanging (problems with hanging on walls, pedestals, weight etc). You want to flag any issues now to work around, rather than discover during the install.
- Start to get to know the space – attend all the openings at the gallery and people watch. See how they move in the space, what are the impact walls, and take note of the lighting. While you are doing your homework you can also “talk up” your forthcoming exhibition.
- Ensure you have the right materials to make this body of work and order where required well in advance. Often you will get discounts if you bulk buy and manage freight, rather than rushing.
- Talking about money, you may want to sketch out a basic budget, and start putting away some money each week to help with the costs. It is a horrible feeling to get to install and the bank account is dry.
Read: How to write an art-wank free artist statement
Six months ahead of your exhibition

- Time to refine that show title and description. The gallery will want to start doing some listings, and you can also get it on to ArtsHub. This is where a portrait image or studio image is helpful if you do not have work ready to use for early promotion.
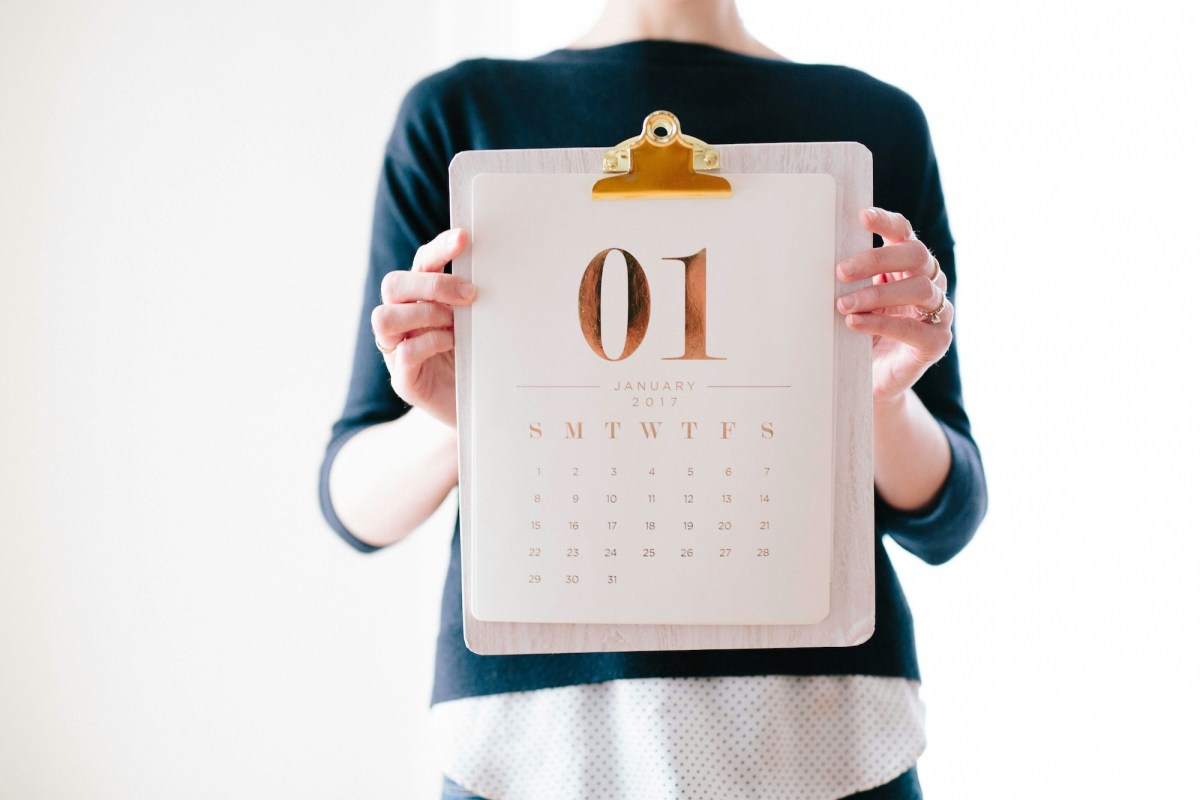
- Think ahead and block dates in your calendar for packing your work and installation, and apply for any leave if you have other work and/or family commitments. We suggest getting a cheapie month-view calendar to mark up. Sometimes it is easier when you can visualise that time frame.
- Also schedule some time to decompress, and block out a few days post opening to breathe, get a massage or have a weekend away from the studio. You will need (and deserve) it!
- Time to revisit that list of what you need to produce. At this point (depending how prolific you are), you want to be about a third of the way through making.
- This is also a good time to invite your gallerists to a studio visit to see the progress of the show and talk them through what you are visualising.
- Start thinking about who you would like to open your exhibition, and extend an invitation.
- We would suggest a newsletter/direct email to your mailing list to announce the exhibition and do a “save the date”. You could also suggest following your journey in creating the exhibition on your social media feed. You don’t have to go crazy here – but one post every other week would be great, building up to weekly closer to the exhibition. If this is difficult, invest in a program to schedule and just put a day aside to plot it out and let it run.
Three months ahead of your exhibition

- Business card or exhibition postcard? It feels very old school but people love to take something, especially if they can’t afford an artwork. Remember your website and social addresses – and carry a bunch with you all the time to hand to people. You can get these printed cheaply by companies like Vistaprint or Canva.
- This is a good time to review your artist statement or write one for the exhibition. You will have your head around enough work at this point to get some ideas down. Keep it short – just a few paragraphs is fine.
- Take another visit to the gallery. Knowing what works are in the studio, think through and revise your plan for hanging your artworks. Do you need to have anything fabricated or book framing in?
- At this point you want to be two-thirds of the way through making the body of work. You have to take into account that packing and shipping may cut down your studio time, and galleries will want to know what they are getting for presales.
Read: Do galleries earn their commission?
Two months ahead of your exhibition
- If you are using a freight handler, you will need to start speaking to them about what you will book and when. (This should be earlier for international freight.)
- Have an exhibition buddy – someone you can bounce ideas with or call on. Largely, it is just knowing someone has got your back will offer a sigh of relief.
- Don’t panic, and trust yourself.
One month before installation

- Take another visit to the gallery and check in with the team. Often we have our head down and are so focused that we forget that this is presented in partnership with the gallery. It is a good time to walk through hanging your artworks with the gallery’s installation team to ensure there are no surprises.
- It is time now to go over your media release and marketing strategy with the gallery to ensure they have everything they need (and it’s all correct) to promote your exhibition.
- It is also time to give your gallery a list of confirmed work and images. This may mean hiring a photographer or setting up a space for a clean photoshoot. The more you arm your gallery with material, the easier it is for them to start on pre-sales (and getting back some of that investment for you.)
- At this point, you will need to have a good idea of what you want for each artwork – what is called the artist price. The gallery will add commission and GST on top of this. Don’t forget to account for any framing costs into your artist price. (While this should be a shared cost in the commission or passed on to the buyer it often isn’t, so cover yourself.)
- This is a good time to send out a newsletter/direct email to your mailing list about the exhibition with some teasers.
- I know this may sound crazy – but think about what you are going to wear. You will not want to do this during the last two weeks.
- Remember to eat well.
Two weeks before installation
- Make sure all your artworks are signed and have the title written on the back.
- Make sure the gallery has a complete and accurate list of all works to be exhibited for the catalogue and wall labels.
- Confirm details and time with your installation crew and assistants.
- Reconfirm all details for transporting the artworks.
One week before installation
- Breathe. Get a massage. Take a walk and just collect your thoughts. This wee pause of a few hours will be a gift to get you through the next week.
- Have a big shop up at the supermarket on the weekend for easy snackable and packed lunches. You don’t want to have to be walking the streets of the CBD looking for cheap food and worrying about getting back on the job.
Post opening
- Update your inventory. This takes time so do it when you have time. You can also add sold works and any collector details.
- Update your mailing list from the sign-in book.
- Find some time in the week following the opening to write any thank you notes. Often we collapse in a heap after opening and this can evaporate from our memory. Artists rely on relationships and their network – so thank people for their support.
- Thank any media for their attention.


